Technological advancements have bestowed us with numerous blessings, but, sadly, they also brought some negative aspects upon us, especially when the audio industry is in question. Namely, numerous individuals, particularly musical artists, experience issues with authorship. In order not to get their material stolen and claimed to be owned by another party, certain procedures need to be carried out, so their work is both credited and paid for when used by someone else.
One of the most effective ways to protect your audio files is to use watermark technology before publishing the material and making it available for broader audiences. For that reason, see how you can watermark your audio files with the simplified guide we have prepared for you in the lines below.
Table of Contents
1. What is a Watermark?

In a nutshell, watermarks are barely visible stamps that are used to prove something is authentic and that it is someone’s property. For example, you can see watermarks on paper bills where they are used to make it difficult or even impossible to forge a realistic copy.
When audio watermarking is in question, we should emphasize that the same approach is being used, solely the form is different. Thus, watermarking an audio file implies a certain segment of it makes it hard or hardly possible to make a copy without crediting the author.
2. How to Start?
First what you need to worry about before watermarking a file is to have an original piece of recorded or crafted audio material that you would mark for good later on. We shall try to explain how you can do it on your own, but you should be aware that the quality of the whole process depends both on the proficiency of the one who makes the procedure and the tools they use in the process.
That is particularly important because nowadays you can afford a watermark to be removed by certain entities for symbolic compensation, especially if the watermarking has been done poorly in the first place. Therefore, think about whether you want to hire a pro to do the quality work for you, or you want to take a risk and give it a go on your own.
3. Use a Digital Audio Workstation
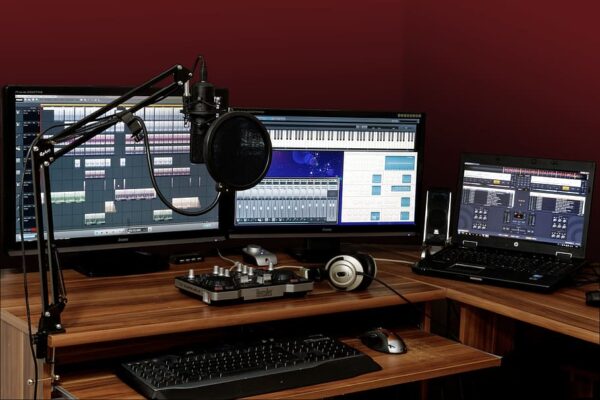
As we have mentioned earlier, you need to have a particular skill set in order to do the job adequately. This would mean that you need to select an appropriate sound or an audio sequence and import it to the audio file you intend on watermarking. Basically, that extra sound you import is your watermark, and it could be anything you consider suitable, but, do bear in mind that it is advisable for an extra sound not to disturb the flow of your original piece, since it could compromise its audibility.
The professionals do it by importing either barely audible or a part that cannot be noticed at all until you use adequate software. Once the work is finished, you can even track who listens and downloads your material and track who uses it, so you can claim your rights later on. At intrasonics.com you can find additional info on how to protect your audio material properly, as well as it is a place where all your doubts regarding watermarking will be resolved.
4. Positioning, Duration, Size
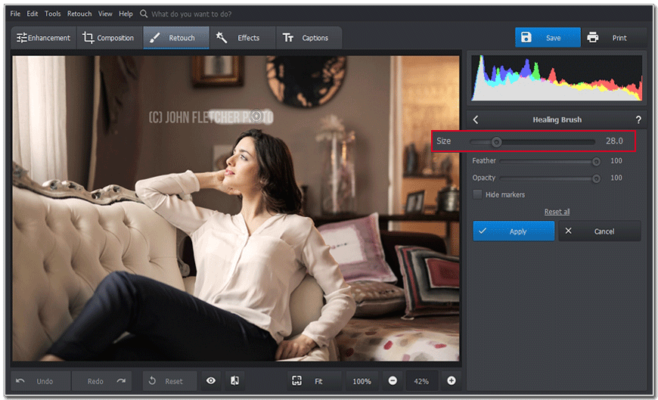
Once you establish what you want to import, you need to place it in a certain position of a file that is to be watermarked. Namely, the choice is on you, so we advise you have a clear picture of what you want to accomplish with the imported segment. Thus, carefully select the sequences you intend on enhancing and stretch or shrink them to fit the original. Another important thing to bear in mind is the duration of the sound file you decide to add.
Besides that, you need to think about whether you want the watermark to be placed in several segments of the original piece. Depending on how many times you want to add a particular watermark further editing continues. Also, you should know that you are not limited to using a single watermark, moreover, you can use multiple layers of different audio digital information you wish to add. On the other hand, using too much material can affect both the size and the quality of the original file.
5. Audio Balancing and Editing
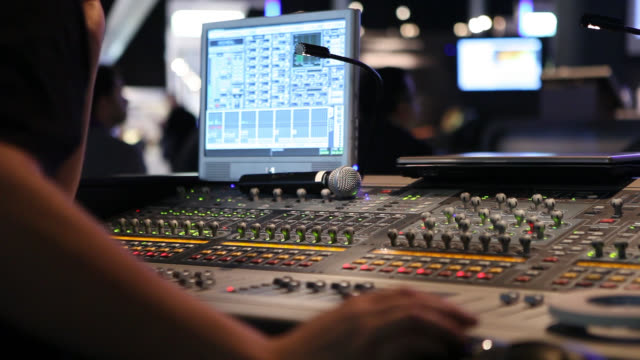
After you take care of the bits you want to use in your audio file protection process, what you should pay additional attention to is how to make the appendix sound as it were a natural part of the file. Namely, if your watermark deviates from the original norm, the chances that the finished project will be accepted by the future listener are minor. Creating fluent material will not only attract more listeners but also make a watermark harder to detect.
Naturally, when someone cannot find the flaw, they will have trouble removing it, so you would have the chance to claim your rights sooner or later if the job is adequately done. On the other hand, you can also use the opposite approach and intentionally go for an overemphasized variant, which would make the listeners clear that your work is protected and branded.
Extraction
The final step of audio watermarking would be the extraction of the file you were editing. Although you do not need to extract the file to hear how it sounds, this process would imply you choose to which format you want to extract the file. Whether you would use compressed or audio file formats without compression, depends strictly on you, thus, all that is left for you to do is press the extract button after you come up with results that suit your ear.
Hopefully, you have realized what you need to do in order to protect your work from the aforementioned pieces of data. Although it might sound easy, there are certain things you need to devote your time and thought to come up with a satisfactory result. Actually, the whole process is as simple as it gets, but the point of watermarking is not solely to make an audio file protected, moreover, it should deliver an experience of the same quality as before the process.

